8 Screen Recording Tips with Voiceover to Engage Viewers

A screen recording with voiceover works when the voice and the screen tell the same story at the same pace. Plan a short script, record the screen in small sections, then either narrate live or add an AI voiceover afterward. Finish by syncing every spoken step with the matching click on screen.
Last updated: October 6, 2026. Recording shortcuts were checked against Apple and Microsoft support pages on that date.
This guide is for anyone making tutorials, software demos, training videos or course lessons from their screen. It covers 8 practical tips and 2 ways to add the voice: live narration or an AI voiceover from a script.
Key Takeaways
- Script first. A short script keeps you from rambling and makes the video easier to edit and update.
- You can add the voice later. Record the screen silently, then add a voiceover from your script.
- Mac and Windows have built-in tools. On a Mac, press Shift + Command + 5. On Windows 11, Snipping Tool records with Windows logo key + Shift + R.
- AI voiceovers make updates simple. When a step changes, edit one line and regenerate it instead of re-recording.
- Sync is the final test. When the voice says "click Save", the cursor should be on Save.
On this page: 2 ways to add a voice · The 8 tips · Add an AI voiceover · Recording live · FAQ
Two ways to make a screen recording with voiceover
You can narrate while you record, or record the screen first and add the voice afterward.
| Method | Best for | Trade-off |
|---|---|---|
| Narrate live while recording | Quick, informal videos and one-off answers | Mistakes mean re-recording; hard to update later |
| Record silently, add a voiceover afterward | Tutorials, demos, training and anything you will update | Takes a script and a sync pass in the editor |
Built-in recorders: on a Mac, press Shift + Command + 5, then choose a microphone under Options if you want to narrate live. On Windows 11, open Snipping Tool and press Windows logo key + Shift + R. To add audio to a Snipping Tool recording, Microsoft points you to its Clipchamp editor.
8 tips for a screen recording with voiceover
1. Write a short script before you record
Outline the steps, then write one or two short sentences per step. Use "you" and plain words, as if you're explaining it to a colleague. Read it aloud once to catch awkward lines.
2. Clean up your screen
Close notifications, extra tabs and personal files. Use a clean browser profile and a neutral desktop background. Viewers should only see what the voice is talking about.
3. Record the screen in short sections
Record one task or step per clip. Short clips are easier to re-record when something changes, and easier to match to the voiceover.
4. Move the cursor slowly and pause on each click
Fast cursor movements are hard to follow. Move steadily, hover for a moment before you click, and leave a second of stillness after each action. That gives the voice room to explain.
5. Choose the voice: your own or AI
Record your own voice if your face and personality are part of the brand. Use an AI voice if you want a consistent sound across many videos, or if you will update the video often.
6. Narrate for clarity, not speed
Say what the viewer will see before they see it: "Next, open the File menu." Name buttons exactly as they appear on screen. Keep one instruction per sentence.
7. Sync the voice with the action
Line up each spoken step with the matching action on screen. If the voice is ahead, add a short pause; if the screen is ahead, freeze a frame or slow the clip.
8. Edit, add captions and keep music quiet
Cut dead time, add captions for viewers watching on mute, and zoom in on small buttons. If you add music, keep it well below the voice.
How do you add an AI voiceover to a screen recording?
This is the simplest way to give a video an AI voice over without recording yourself.
- Record the screen silently, one step per clip.
- Write the script to match each clip, one short paragraph per step.
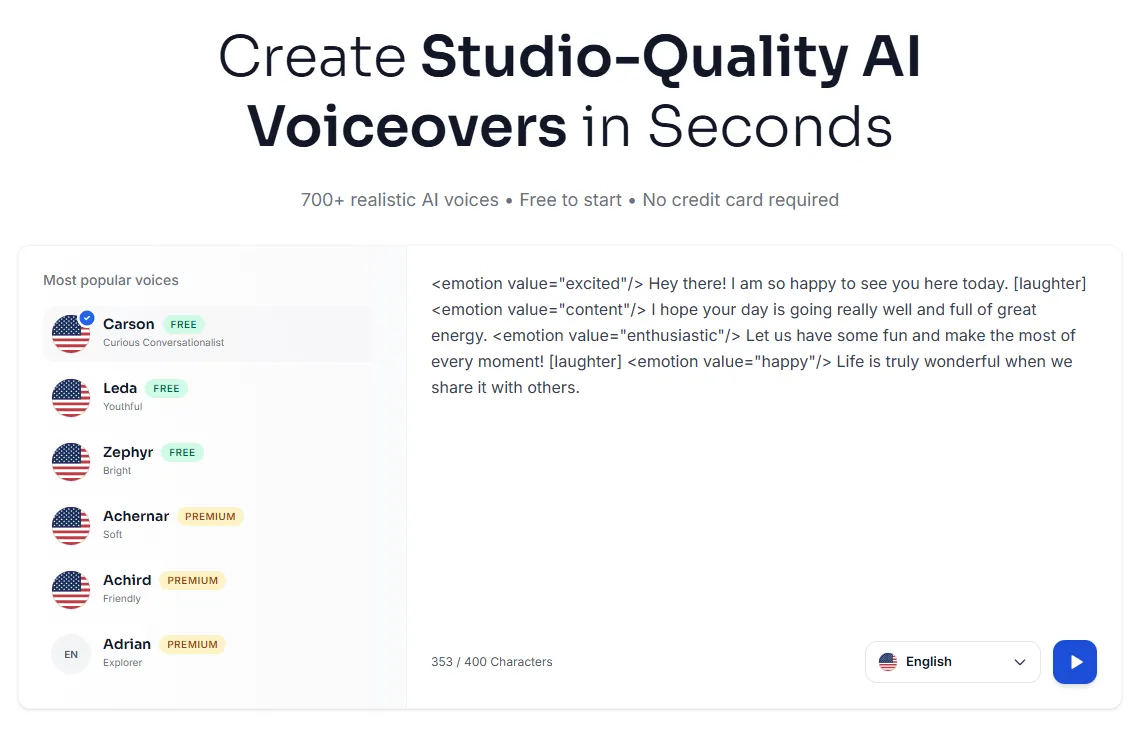
- Generate the voiceover. In Kveeky, paste the script, pick one of 700+ voices, and adjust tone, pitch and speed.
- Generate each step separately so you can replace one step later without redoing the rest.
- Download MP3 or WAV and place the audio on your editor's timeline.
- Trim the screen clips to fit the voice, then add captions and export.
Your script decides how natural the voice sounds. Our guide to writing a script for AI voiceover covers pauses, pronunciation and tone. For other kinds of videos, see how to convert text to speech in videos.
If you record your own voice
Live narration works well when you prepare the room and your voice.
- Use a basic USB microphone if you can. A directional mic picks up less room noise than a laptop's built-in mic.
- Pick a quiet, soft room. Close windows and doors; curtains, carpets and blankets reduce echo.
- Warm up for a minute. Humming and a few tongue twisters help clear speech.
- Record in short takes and remove stumbles, coughs and long pauses in the edit.
- Keep the mic at the same distance so the volume stays steady.
If you're making a short sales demo rather than a tutorial, our 60-second product demo script framework shows how to structure it.
Frequently asked questions
How do I screen record with voiceover on a Mac?
Press Shift + Command + 5 to open the Screenshot toolbar, choose a recording option, then pick a microphone under Options. Or record silently and add a voiceover later in your video editor.
How do I add a voiceover to an existing screen recording?
Write a script that matches the recording, record or generate the voiceover, then place the audio on your editor's timeline. Trim or slow the video clips until each spoken step matches the action on screen.
How do I make a voiceover using AI?
Write your script, paste it into an AI voice generator, choose a voice and adjust the speed and tone. Then download the audio as an MP3 or WAV and add it to your video.
How do I narrate a screen recording clearly?
Say what will happen before it happens, use one instruction per sentence, and name buttons exactly as they appear. Leave a short pause after each click so viewers can follow.
Is an AI voice good enough for tutorials and training videos?
For most tutorials, yes, as long as the script is clear. AI voices stay consistent across many videos, and you can update a single step later. Use your own voice if your personality is part of the content.
How we checked this guide
This guide is written by Ankit Agarwal for the Kveeky team. Disclosure: Kveeky makes an AI voice generator.
- Mac recording steps: Apple Support, How to record the screen on Mac, retrieved 2026-10-06.
- Windows recording steps: Microsoft Support, Use Snipping Tool to capture screenshots, retrieved 2026-10-06.
- Kveeky features (700+ voices, tone, pitch and speed control, MP3 and WAV export) come from kveeky.com, retrieved 2026-10-06. No Kveeky usage data is used in this guide.
Next step: pick one short task, record it silently in 3 or 4 clips, and add a voiceover from a script. If you make training content, our page on AI voiceover for training videos has voices suited to clear instruction.