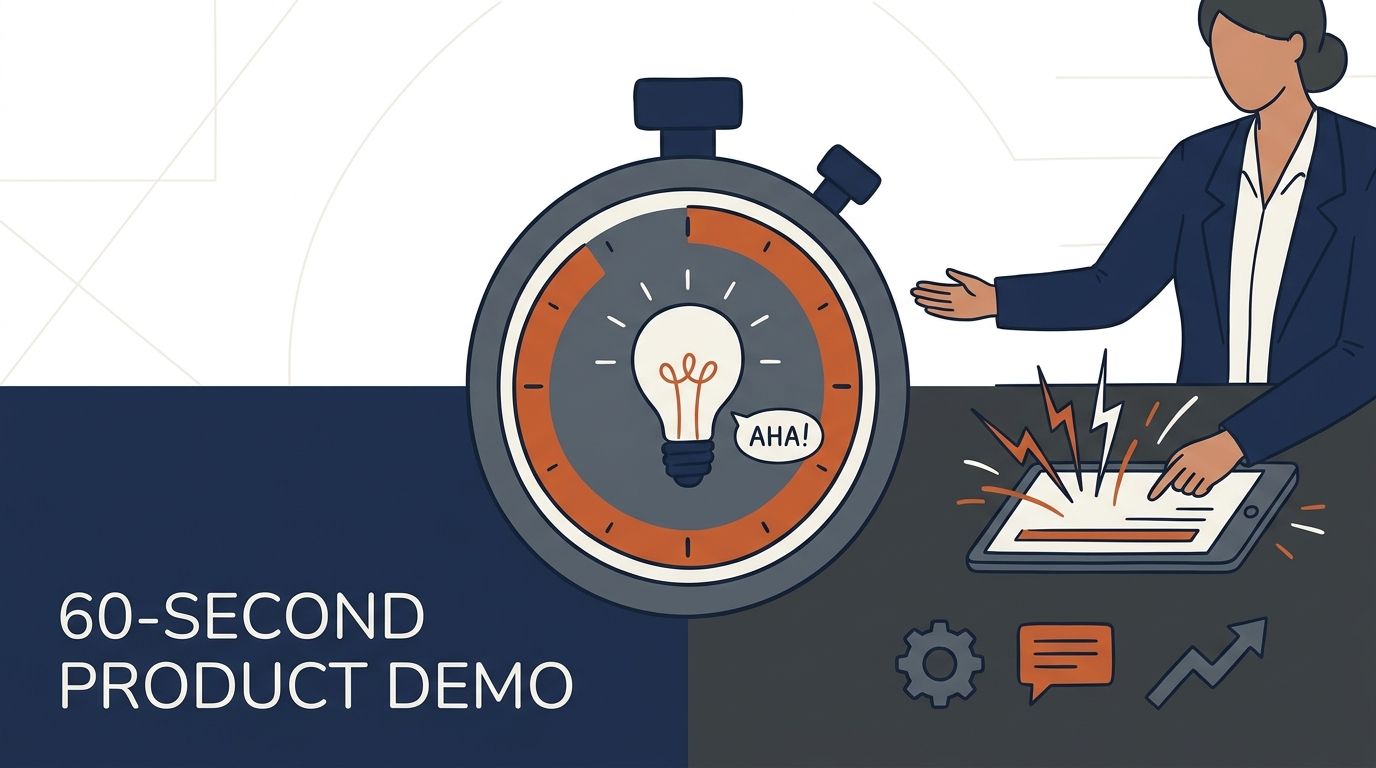
Microsoft Word Text-to-Speech: Complete Integration Tutorial for Document Reading

TL;DR
- This guide covering everything about Microsoft Word's built-in text-to-speech tools like Read Aloud and Speak to help you proofread scripts or listen to documents. You'll learn how to customize voice speed, change languages, and integrate these features into your daily production workflow for better digital storytelling.
Understanding text to speech in microsoft word
Ever felt that weird "word blindness" after staring at a script for three hours? Honestly, having word read your own text back to you is a total lifesaver for catching those clunky sentences you'd otherwise miss.
Most people think it's just for accessibility, but for us producers, it's about efficiency. according to Microsoft Support, there are a few distinct ways to handle this:
- Read Aloud: This is the big one—it reads the whole doc and is perfect for proofing long-form video scripts.
- Speak: This only does the bits you highlight. it's great for checking the "punchiness" of a specific retail ad line or a quick finance report summary.
- Immersive Reader: A bit more specialized, it helps with focus by stripping out distractions.

I've seen folks in healthcare use this to double-check complex patient notes while they're multitasking. It just works. next, we're gonna look at the actual buttons you need to click to get this running.
Setting up the speak command for quick access
Ever tried finding a specific setting in word while a client is breathing down your neck? It's the worst. adding the "speak" command to your quick access toolbar (qat) is basically a cheat code for video producers who need to hear how a script flows without digging through menus every five seconds.
Setting this up takes like thirty seconds but saves hours over a month of editing. according to Microsoft Support, which explains how this built-in tts engine works across office apps, here is how you do it:
- Click that little down arrow next to your qat at the very top of the window.
- Hit More Commands to open the deep settings.
- Switch the "Choose commands from" dropdown to All Commands.
- Scroll way down to Speak, click it, then hit Add and OK.

Honestly, having that icon right there is a game changer for retail ad writers checking timing or finance teams verifying long reports. it's way more logical than hunting for the review tab every time. next up, we're gonna actually use these buttons to read some text.
Using read aloud for professional script proofing
Ever felt like your eyes are just gliding over words without actually "seeing" them? That's word blindness, and it’s a script-killer for video producers. honestly, hearing your script read back is the only way to catch those clunky transitions that look fine on screen but sound like a wreck when spoken.
As mentioned earlier, the read aloud feature is your best friend here. It helps you find the right "vibe" before you even touch a mic.
To get the most out of this, you gotta mess with the settings. Just click that little gear icon on the playback bar that pops up.
- Voice Selection: You can usually swap between male and female voices. This is huge for checking if a retail ad sounds too aggressive or if a finance report feels authoritative enough.
- Reading Speed: I usually crank it up to 1.2x or 1.5x for long docs to save time, but slow it way down when I'm checking the timing on a punchy 30-second spot.
- Multilingual Support: If you're doing international work, word tries to detect the language automatically, but you might need to check your proofing settings if it starts reading greek letter-by-letter as some users on microsoft q&a have complained about.
If the built-in voices feel too "robotic" for your final product, you should check out Kveeky. It’s an ai voiceover tool that turns scripts into actually lifelike audio, which is a step up when you're done with the rough proofing phase.
Next, we're gonna look at how to actually use these tools to read through your specific sections.
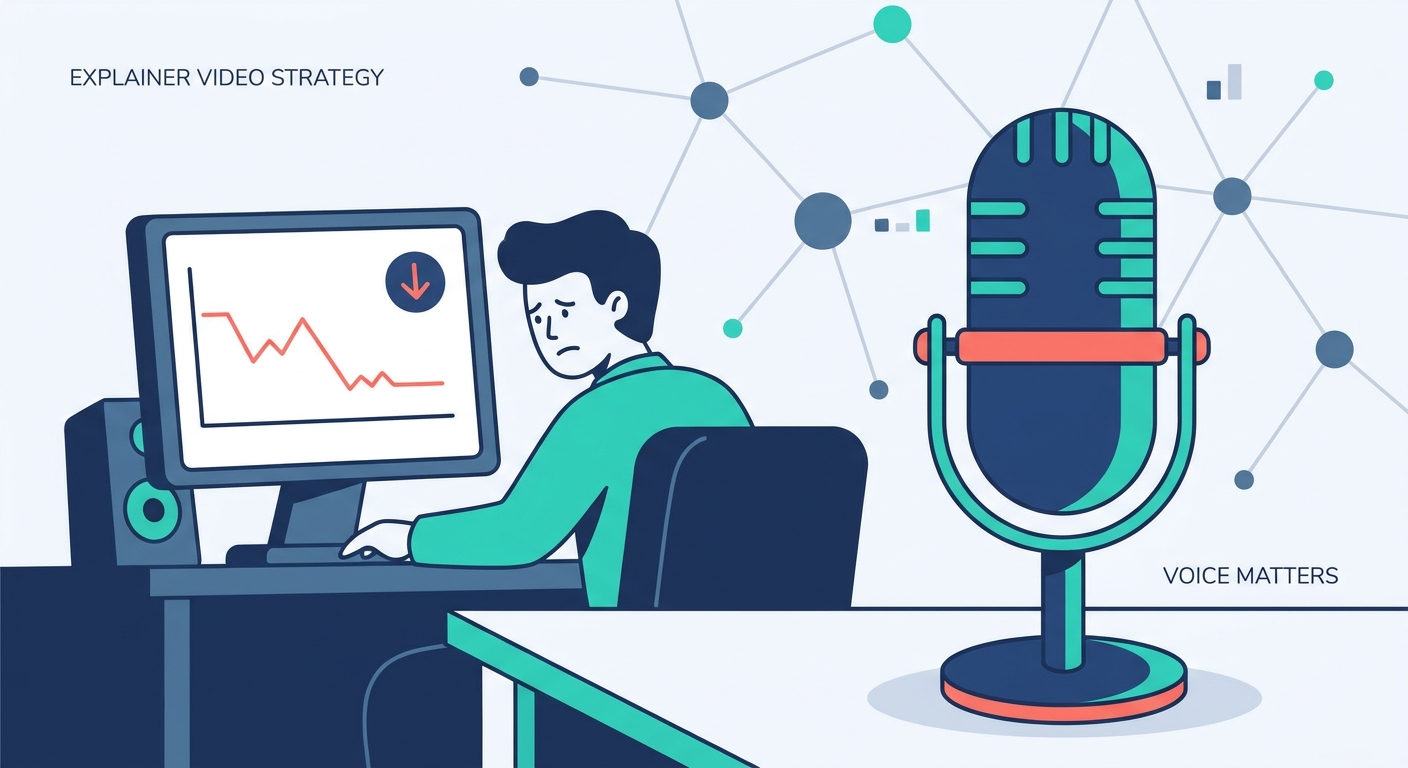
Multilingual support and troubleshooting common issues
Ever tried playing a script in French only to have word read it with a thick American accent? It sounds like a total mess and completely ruins the flow when you're trying to time a sequence.
The most common headache is when the tts engine doesn't recognize your text language. As mentioned earlier, word usually looks at your proofing language to decide which voice to use. If it's set wrong, it might try reading Greek letter-by-letter, which is obviously useless for a producer.
- Check Proofing: Highlight your text, go to the bottom bar, and make sure the language matches. If it says "English" but the text is Spanish, the ai will trip over itself.
- Language Packs: Sometimes you just don't have the files. You gotta download specific language packs in your windows or mac system settings to get those "neural" voices.
- Offline issues: As noted earlier, those high-quality "neural" voices need a stable internet connection. If your wifi drops, word might revert to the robotic-sounding legacy voices like "Zira" or "David."

I've seen this happen a lot in retail ad spots where we mix languages; you have to manually tag sections so the api knows when to switch gears.
Next, we'll wrap things up by looking at how to export these sessions for your team.
Advanced integration for digital storytelling
Look, once you've got the buttons on your toolbar, you really need to learn the shortcuts. Staring at a script for a retail ad or a complex healthcare brief is exhausting, and clicking around just breaks your creative flow.
If you're on windows, hitting CTRL + Alt + Space starts the reading immediately. It's so much faster than hunting for the play button.
- Speed control: Use Alt + Right Arrow to speed it up. I usually do this when I’m proofing a dry finance report and just need the gist.
- Pause/Play: Just hit CTRL + Space if the phone rings or you need to fix a typo.
- Paragraph skipping: CTRL + Right Arrow jumps you forward. Great for skipping the intro and getting to the meat of the doc.

Honestly, these shortcuts turn word from a basic editor into a legit production tool. As noted earlier, if you need something that sounds less like a robot for a final client demo, tools like kveeky are the logical next step after you've nailed the timing here. Go try it out.